
This week’s art activity was created by another one of my super-talented friends, Erin Shakespear. Erin is a writer and a craft expert and one of the funny, most warm people I know. Take it away, Erin!
With a cool book like Framed being featured on Elaine’s awesome blog, it seemed fitting for this week’s art project to be a frame!
This is a super easy craft that lets kids put a bright and colorful spotlight on their artwork.
So, let’s get to it…
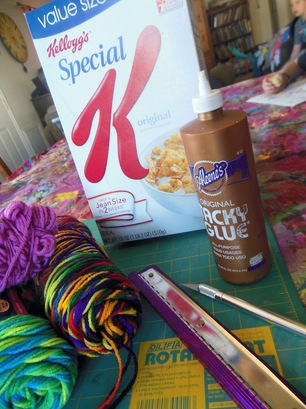
Step #1: Gather up your supplies
~ cereal box
~ yarn
~ glue
~ exacto knife
~ ruler
Step #2: Start cutting.
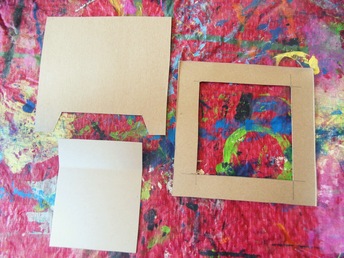
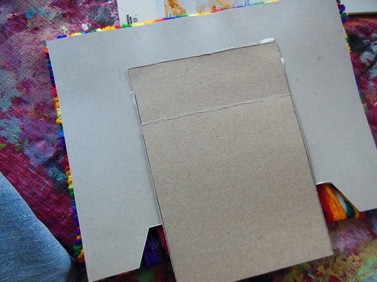
This first part is a parent’s job. Cut up the cereal box leaving the front and the back intact. Now decide how wide you want your frame and using your ruler, measure and mark where you need to cut. Cut the frame out with the exacto knife. I made mine 1 1/4 inches wide.
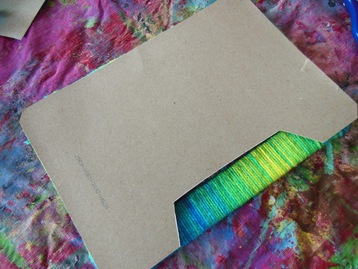
Next cut a back for your frame the same size. And also cut a chunk out of the bottom of the back to make sliding in a picture easier. With the middle scrap piece of your frame cut a long piece of cardboard to prop the frame up.
Step #3: Pick a color
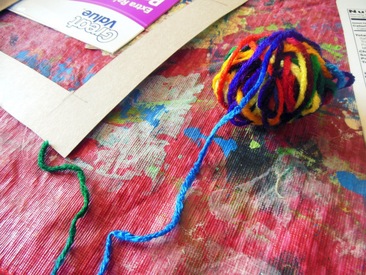
Choose your yarn and make a small ball of it. Since you’ll be wrapping the frame around and around, it’s much easier to deal with a small ball of yarn than a whole skein of it.
Step #4: Get gluing
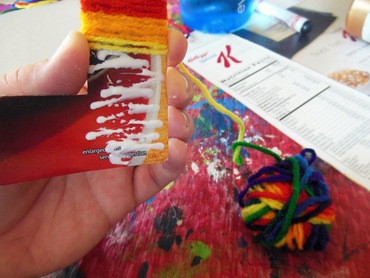
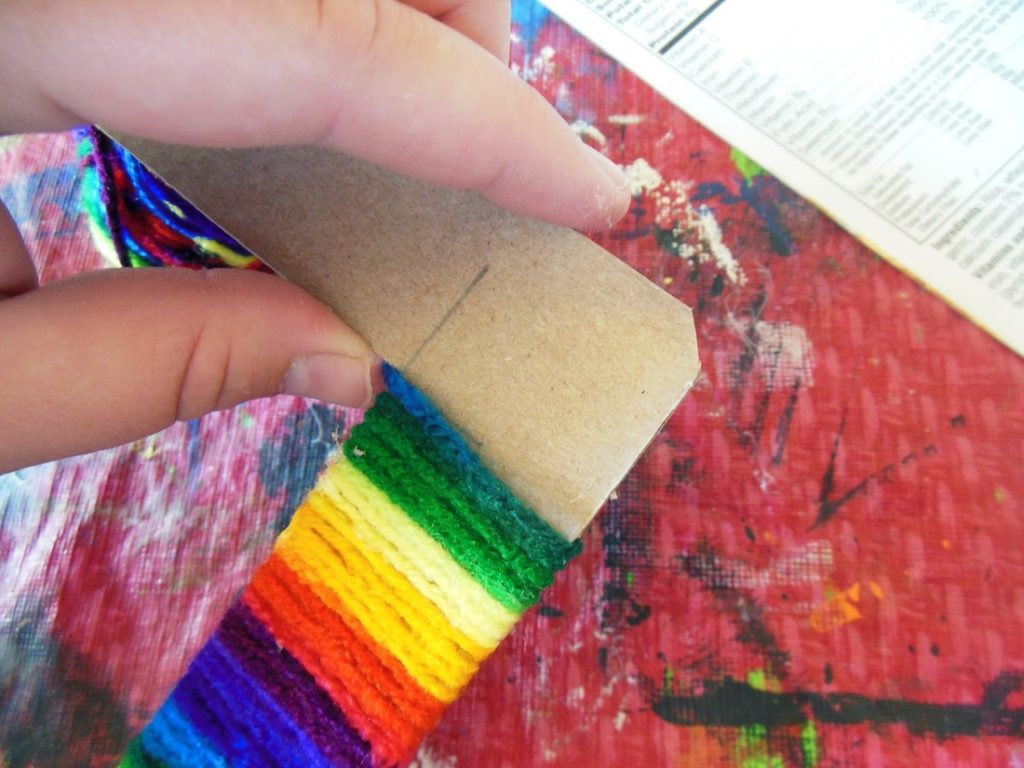
Put your glue on the colorful or wrong side of your frame and begin wrapping. The solid brown side should be the front or right side of your frame just in case any of the cardboard shows through.
Step #5: Dealing with corners
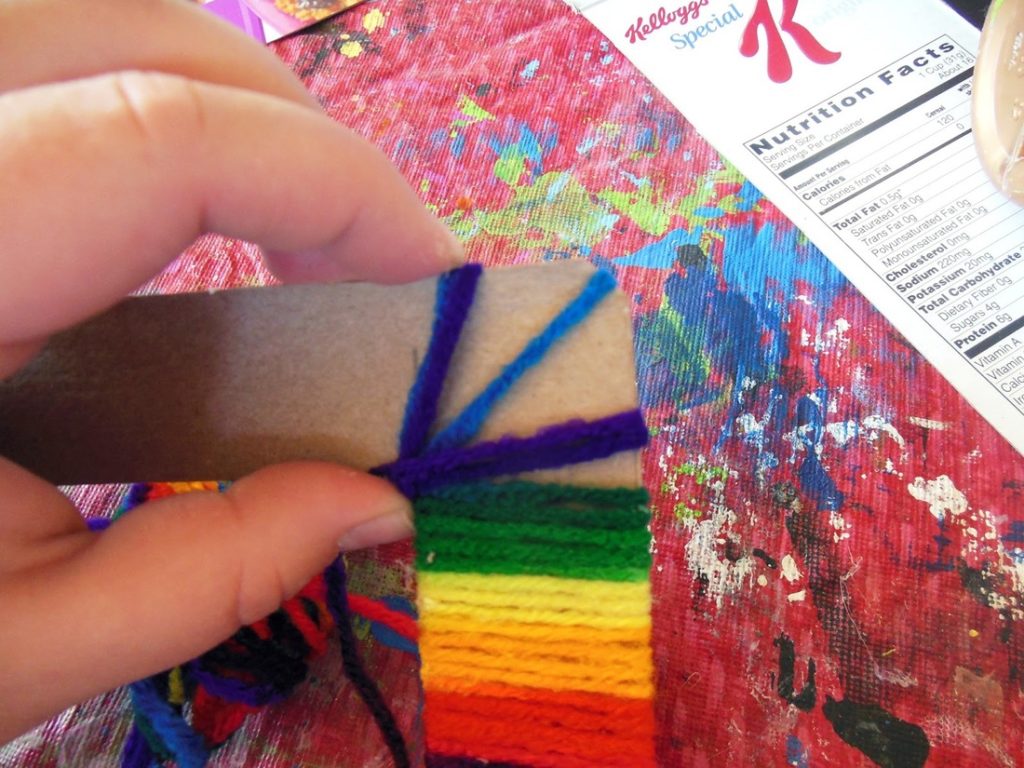
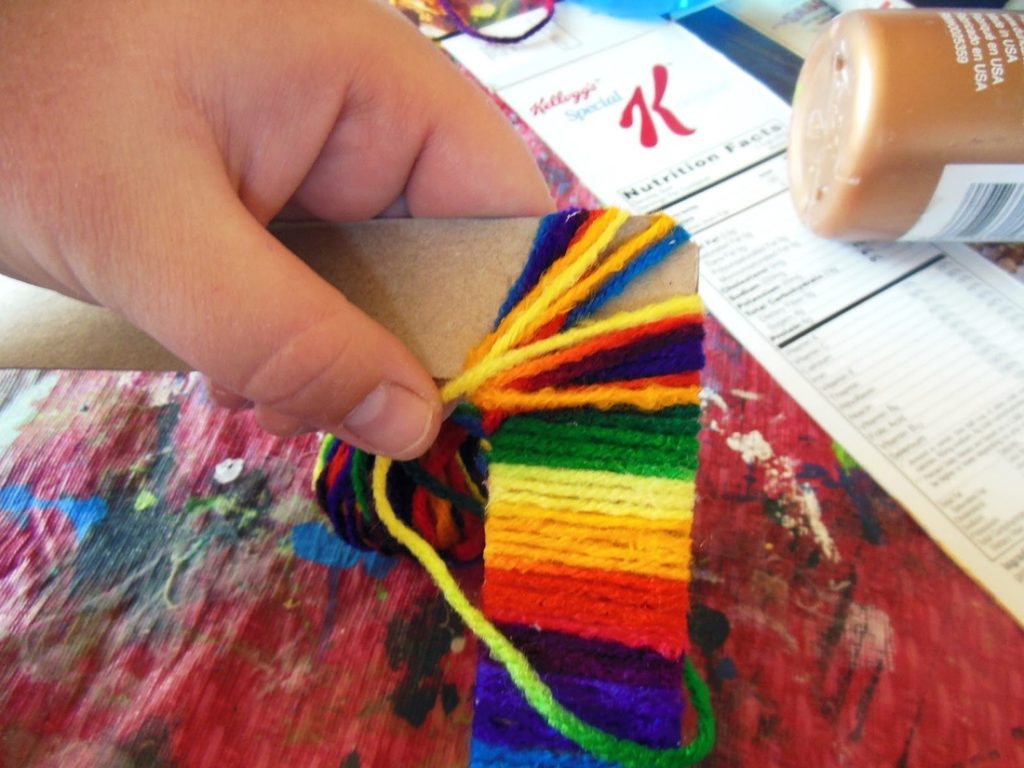
The corners can be tricky. Luckily one of my sons came up with a great solution. If you trim a small triangle from each corner, it makes them easier to wrap. Also, it’s best to wrap the corner on one side and then the other, alternating back and forth and filling in the gaps as you go in order to distribute the yarn evenly.
Step #6: More gluing
Once you’ve covered your frame in yarn, it’s time to put the back on. Put a bead of glue along the wrong side of the back of your frame (the colorful side) and glue to your frame. Make sure you put the glue on the very edge so you leave more room for your picture. Stack some heavy books on the frame to get the front and back to stick together really well.
Step #7: Stand it up
Take the skinny piece of cardboard you cut out earlier and fold a small piece at the top of it. Now glue this piece to the back of your frame.
Step #8: Get drawing
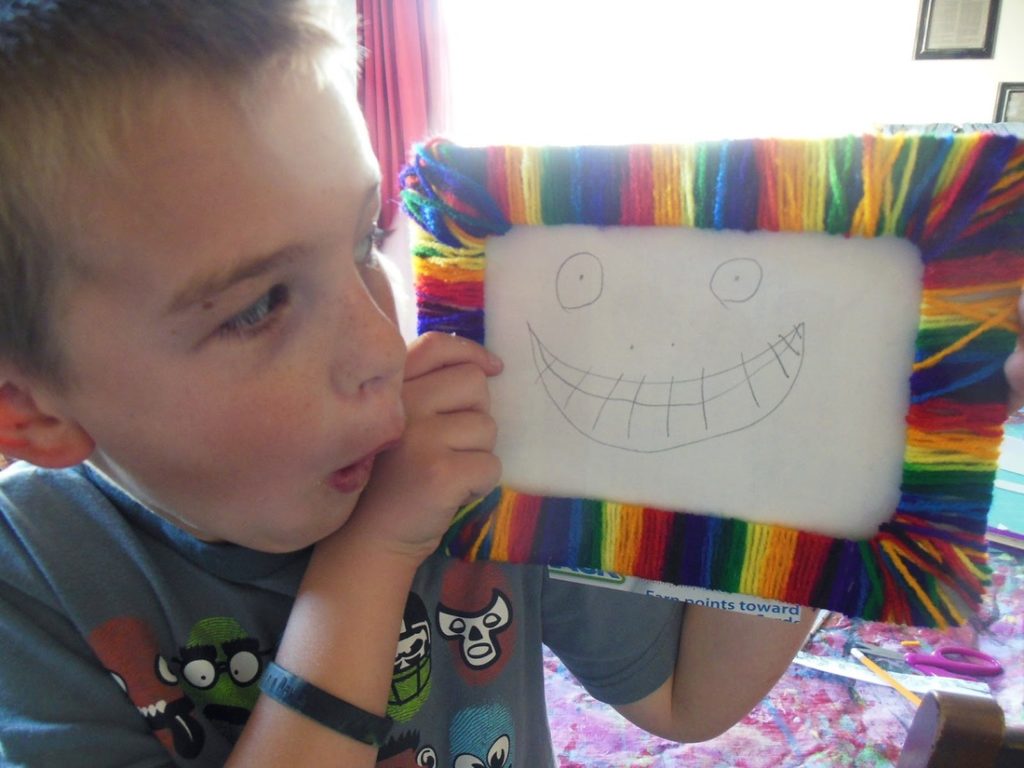
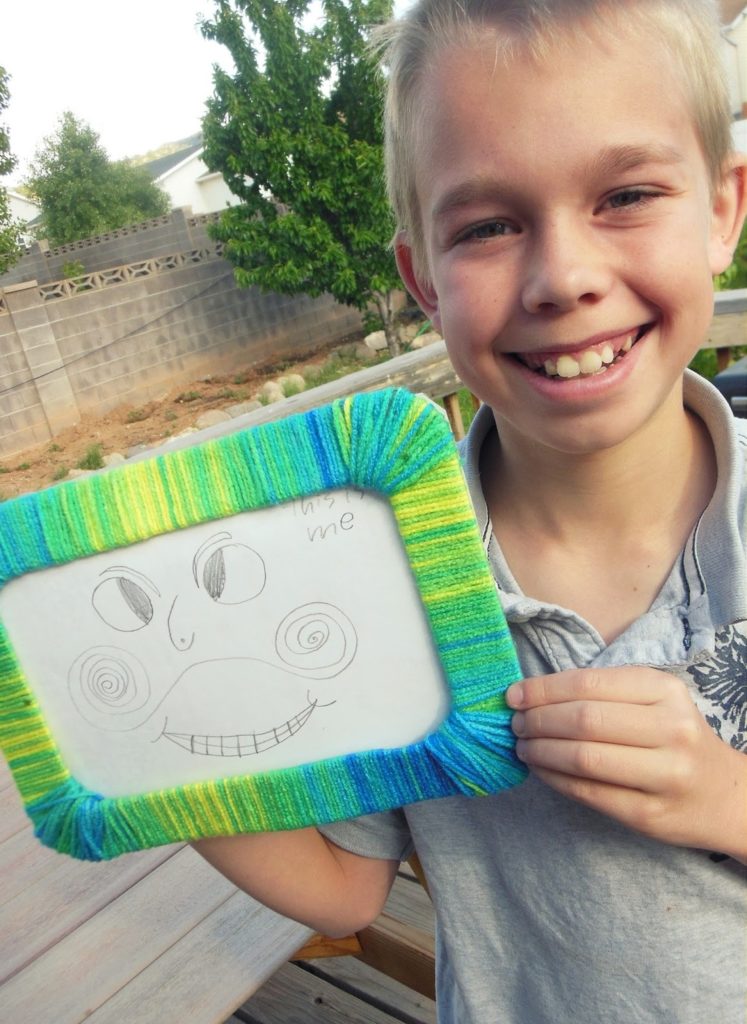
Whip up a dandy self-portrait of yourself or another piece of lovely artwork, slip it into your frame and admire your handiwork!
Thanks, Elaine, for letting me add to your fun blog!
Thank you, Erin! Now I’m off to the store to get yarn and start this project with my own kids! 🙂