In this week’s book, some of the characters had body parts made of tiny, intricate gears. Today we’ll make our own gears and learn a little about how they work!
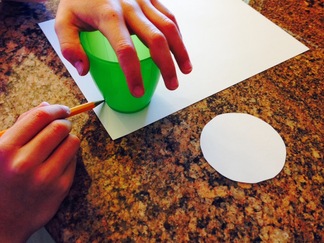
Gears are wheels that turn each other. To start out, make some wheels by cutting different size circles in cardstock. (We traced ours from the bottom of cups, but a compass would be even better because you’d know the exact center of the circle.)
Most gears have teeth to help them spin each other. Take another piece of cardstock and fold it into a fan. Make the folds as even as possible so your teeth will be as even as possible.
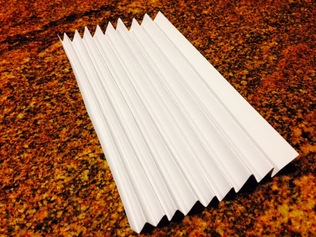
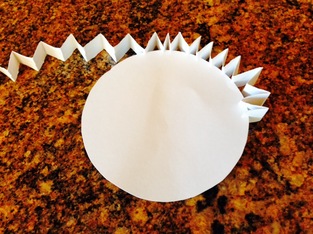
Next, cut the fan into strips. These will be the teeth of your gears. Cut a small notch down the center of each strip of teeth, then slide this notch over the edge of your circle. You will probably need multiple strips of teeth to go around even your small circles. Try to space out the teeth as evenly as possible.
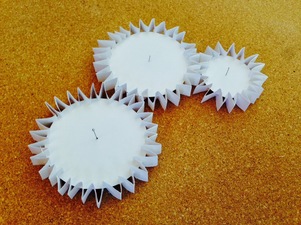
When your gears are finished, put a pin through the center and stick them to a corkboard. Now you can make a gear train–a series of gears that turn each other! Watch your gears as they turn. The one you’re pushing is the driver gear, and the others are follower gears. Do they all turn the same direction? Can you predict what direction they’ll all turn if you change the direction you’re turning the driver gear? Is it easier to turn a small gear or a larger gear? Which one goes around the fastest?
For more great info on gears, check out this video or this website. Have fun!